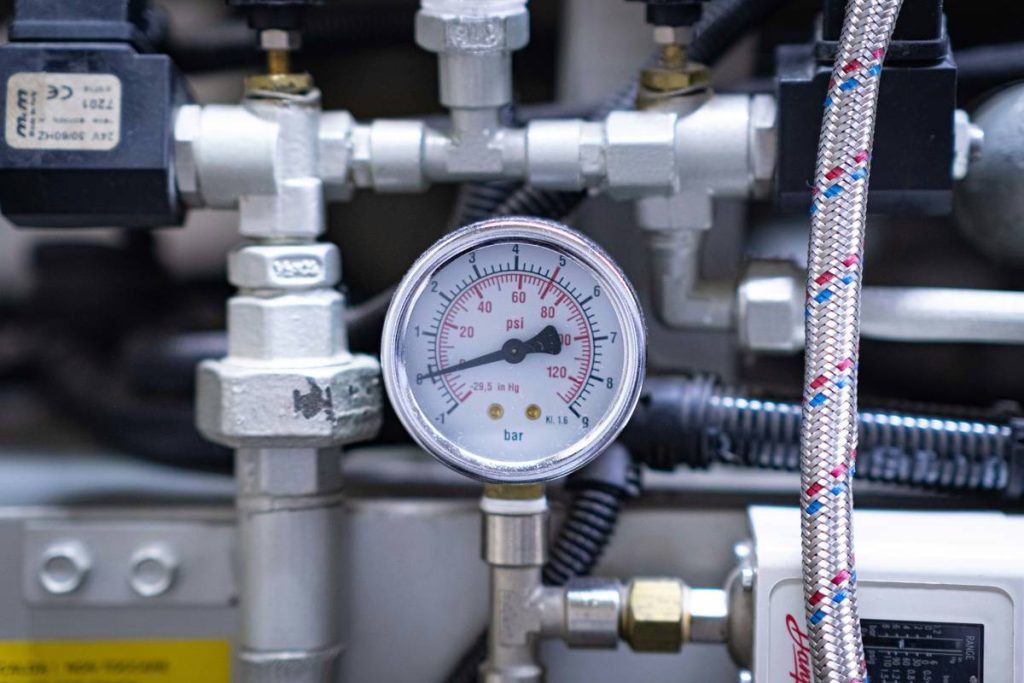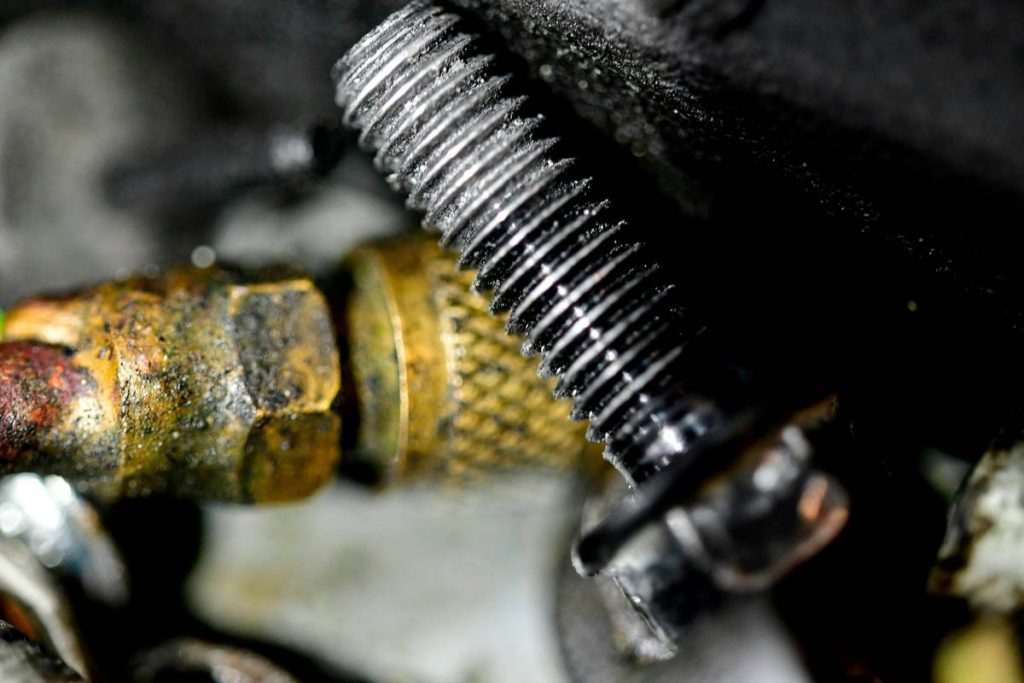
You rely on your pressure cooker to shave 70% off cooking time. But what happens when internal pressure spikes beyond safe limits? Most users never think about it—until the gasket blows or, worse, the lid warps mid-cycle. The unsung guardian preventing disaster? The vacuum pressure safety valve. It’s not just a part. It’s your kitchen’s last line of defense.
The Core Problem: Why “Set It and Forget It” Fails with Pressure Cookers
Manufacturers design pressure cookers assuming perfect conditions: clean valves, calibrated springs, undamaged seals. Real kitchens? Grease splatter clogs vents. Mineral deposits from hard water gum up mechanisms. And let’s be honest—most people wipe the lid once a month, if that.
And when debris blocks the primary pressure release? Secondary systems like the vacuum pressure safety valve must activate. But if it’s corroded or jammed shut? You’ve got a slow-motion hazard brewing under stainless steel.
Step-by-Step Guide to Inspecting and Maintaining Your Vacuum Pressure Safety Valve
When to Test Your Valve (Hint: Not Just When It Fails)
Monthly checks prevent emergencies. Don’t wait for steam leaks or hissing sounds—that’s already a red flag. Proactive maintenance is cheap insurance.
How to Clean the Vacuum Pressure Safety Valve Properly
Remove the valve assembly per your manual (yes, read it). Soak it in warm vinegar-water (1:1) for 15 minutes. Use a soft toothbrush—never metal—to dislodge residue around the pin and spring seat. Rinse thoroughly. Air dry completely before reassembly.

What to Look for During Inspection
Check for pitting, discoloration, or stiffness in movement. A healthy valve depresses smoothly and springs back instantly. If it sticks—even slightly—replace it. Valves cost less than $10. Peace of mind? Priceless.
| Maintenance Method | Time Required | Cost | Risk if Skipped |
|---|---|---|---|
| Vinegar soak + brush clean | 20 minutes/month | $0 (uses household items) | Partial blockage → delayed response |
| Professional valve calibration | 45 minutes/year | $25–$40 | Negligible if done quarterly |
| DIY replacement with OEM part | 10 minutes/every 2 years | $8–$15 | Catastrophic failure during high-pressure cycle |
The Industry Secret: Not All Safety Valves Are Created Equal
Here’s something appliance reps won’t advertise: third-party replacement valves often use softer alloys to cut costs. Under repeated thermal cycling, they deform faster—losing sealing integrity at precisely the wrong moment. Stick with OEM parts. Yes, they cost slightly more. But consider this: a warped valve failing during a bean stew cook could scald you with 250°F steam. The math is simple. Your skin isn’t worth saving six bucks.
And some premium brands now embed dual-stage vacuum relief—mechanical plus fusible alloy plugs that melt at 265°F as a final failsafe. If you’re buying new, prioritize models with layered redundancy. It’s not marketing fluff. It’s physics-backed protection.
Frequently Asked Questions
Can I operate my pressure cooker without the vacuum pressure safety valve?
No. Removing it disables critical over-pressure protection. Never bypass or tape over safety components.
How do I know if my valve is faulty?
If steam escapes continuously during pressurization—or if the valve doesn’t reset after cooling—it’s compromised. Replace immediately.
Does altitude affect the vacuum pressure safety valve?
Indirectly. Higher altitudes lower boiling points, altering pressure dynamics. But the valve’s mechanical function remains unchanged—maintain it regardless of elevation.