You trust your pressure cooker to deliver tender ribs in 30 minutes flat. But what if it fails? Catastrophic overpressure events aren’t Hollywood fiction—they happen when the distributor pressure safety valve is ignored, clogged, or misinstalled. The fix isn’t just cleaning—it’s understanding how this tiny component dictates whether dinner becomes disaster.
The Core Problem: Why Most Pressure Cooker Safety Systems Fail
Most home cooks treat the safety valve like a “set-and-forget” part. Big mistake. Standard maintenance guides tell you to rinse it occasionally—but that’s not enough. Food particles, mineral scale from hard water, and even dried starch can subtly restrict airflow. You won’t notice until pressure builds beyond safe thresholds. And by then? It’s too late.
Worse—many generic valves sold online aren’t calibrated for your specific cooker model. A mismatched distributor pressure safety valve might vent too early (ruining cook time) or too late (risking explosion). Manufacturers know this. They just don’t advertise it.
Step-by-Step Guide to Maintaining Your Distributor Pressure Safety Valve
Forget quick wipes. Real safety means precision care. Here’s how pros do it—without special tools.
1. Identify Your Exact Valve Type
Check your manual or look for stamped numbers near the valve stem. Instant Pot, Presto, and Hawkins all use different tolerances. Using a universal replacement = rolling dice with steam.
2. Disassemble Correctly—No Force Needed
Most valves twist off counterclockwise. If it resists, soak the lid in warm vinegar for 15 minutes. Never pry—it warps metal seats.
3. Clean With Targeted Methods
Rinse alone fails against calcified deposits. Use a soft toothbrush + baking soda paste for organic gunk. For hard water scale, submerge in white vinegar for 10 minutes—then flush with distilled water.
4. Test the Vent Threshold (Critical)
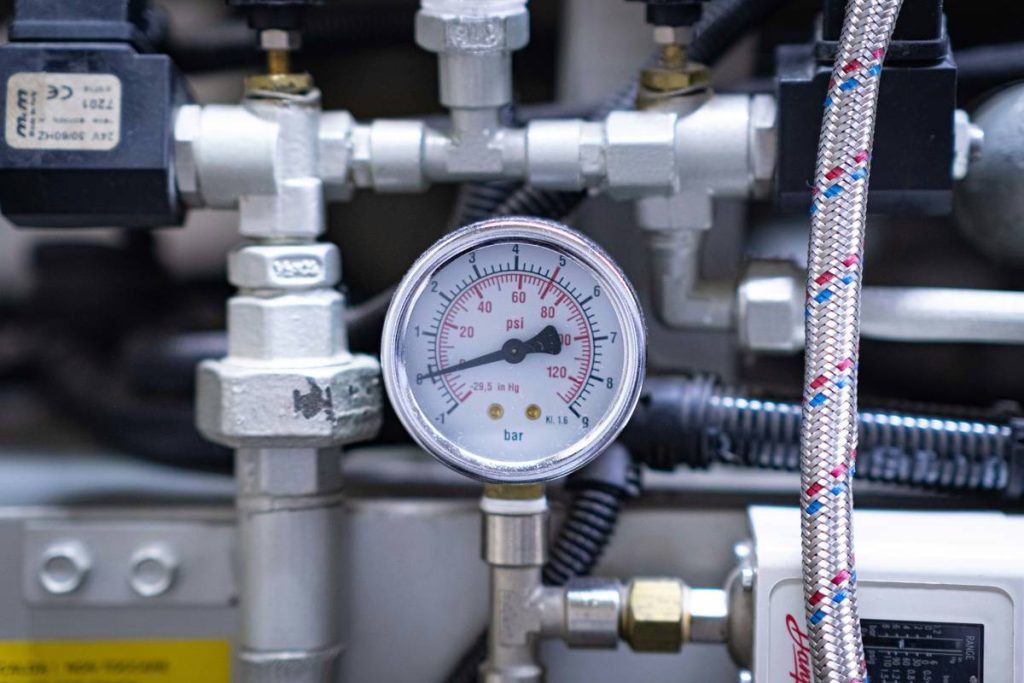
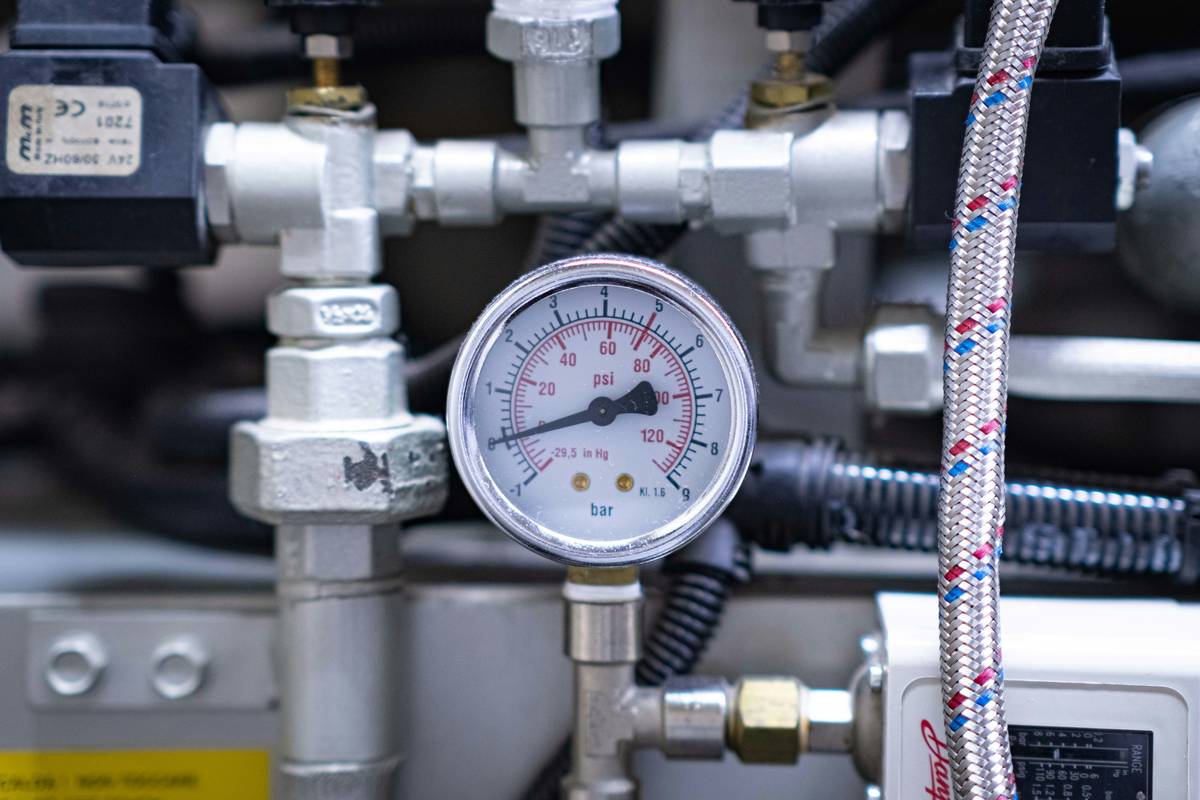
Boil water in the cooker with the lid locked but valve exposed. At ~15 psi (for most electric models), you should hear a soft hiss as steam escapes cleanly. Silence? Valve’s stuck. Hissing too early? It’s worn.
| Maintenance Method | Effectiveness Against Clogs | Risk of Damage | Time Required |
|---|---|---|---|
| Rinsing under tap water | Low (only removes loose debris) | None | 30 seconds |
| Vinegar soak + brush | High (dissolves mineral + organic buildup) | Very low (if using soft brush) | 15–20 minutes |
| Ultrasonic cleaner | Very high (reaches micro-gaps) | Medium (can weaken springs over time) | 5 minutes |
| Compressed air blast | Moderate (blows out dry particles only) | High (may dislodge internal seals) | 2 minutes |
The Industry Secret: Valve Calibration Isn’t One-Size-Fits-All
Here’s what appliance engineers won’t say publicly: pressure cookers sold in India vs. the U.S. often ship with differently rated safety valves—not because of quality, but altitude and regulatory norms. A valve rated for 15 psi in Denver might be set to 12 psi in Mumbai. If you import a cooker or replace parts blindly, you’re operating outside certified safety margins. Always match the valve’s stamped psi rating to your original unit. No exceptions.
And—this is critical—never reuse a valve after a full-pressure failure. Even if it looks fine, microscopic warping alters release timing. That $8 part isn’t worth gambling with.
Frequently Asked Questions
What does a distributor pressure safety valve do?
It automatically vents excess steam when internal pressure exceeds safe levels—preventing explosions by acting as the cooker’s last line of defense.
How often should I clean my pressure cooker safety valve?
Every 3–5 uses if cooking starchy or dairy-heavy meals. Monthly minimum, even with light use. Hard water areas? Double that frequency.
Can I replace just the spring inside the valve?
No. Springs fatigue invisibly. Replacing only the spring creates unpredictable release points. Swap the entire valve assembly—it’s engineered as a single calibrated unit.